Tuesday, August 6, 2013

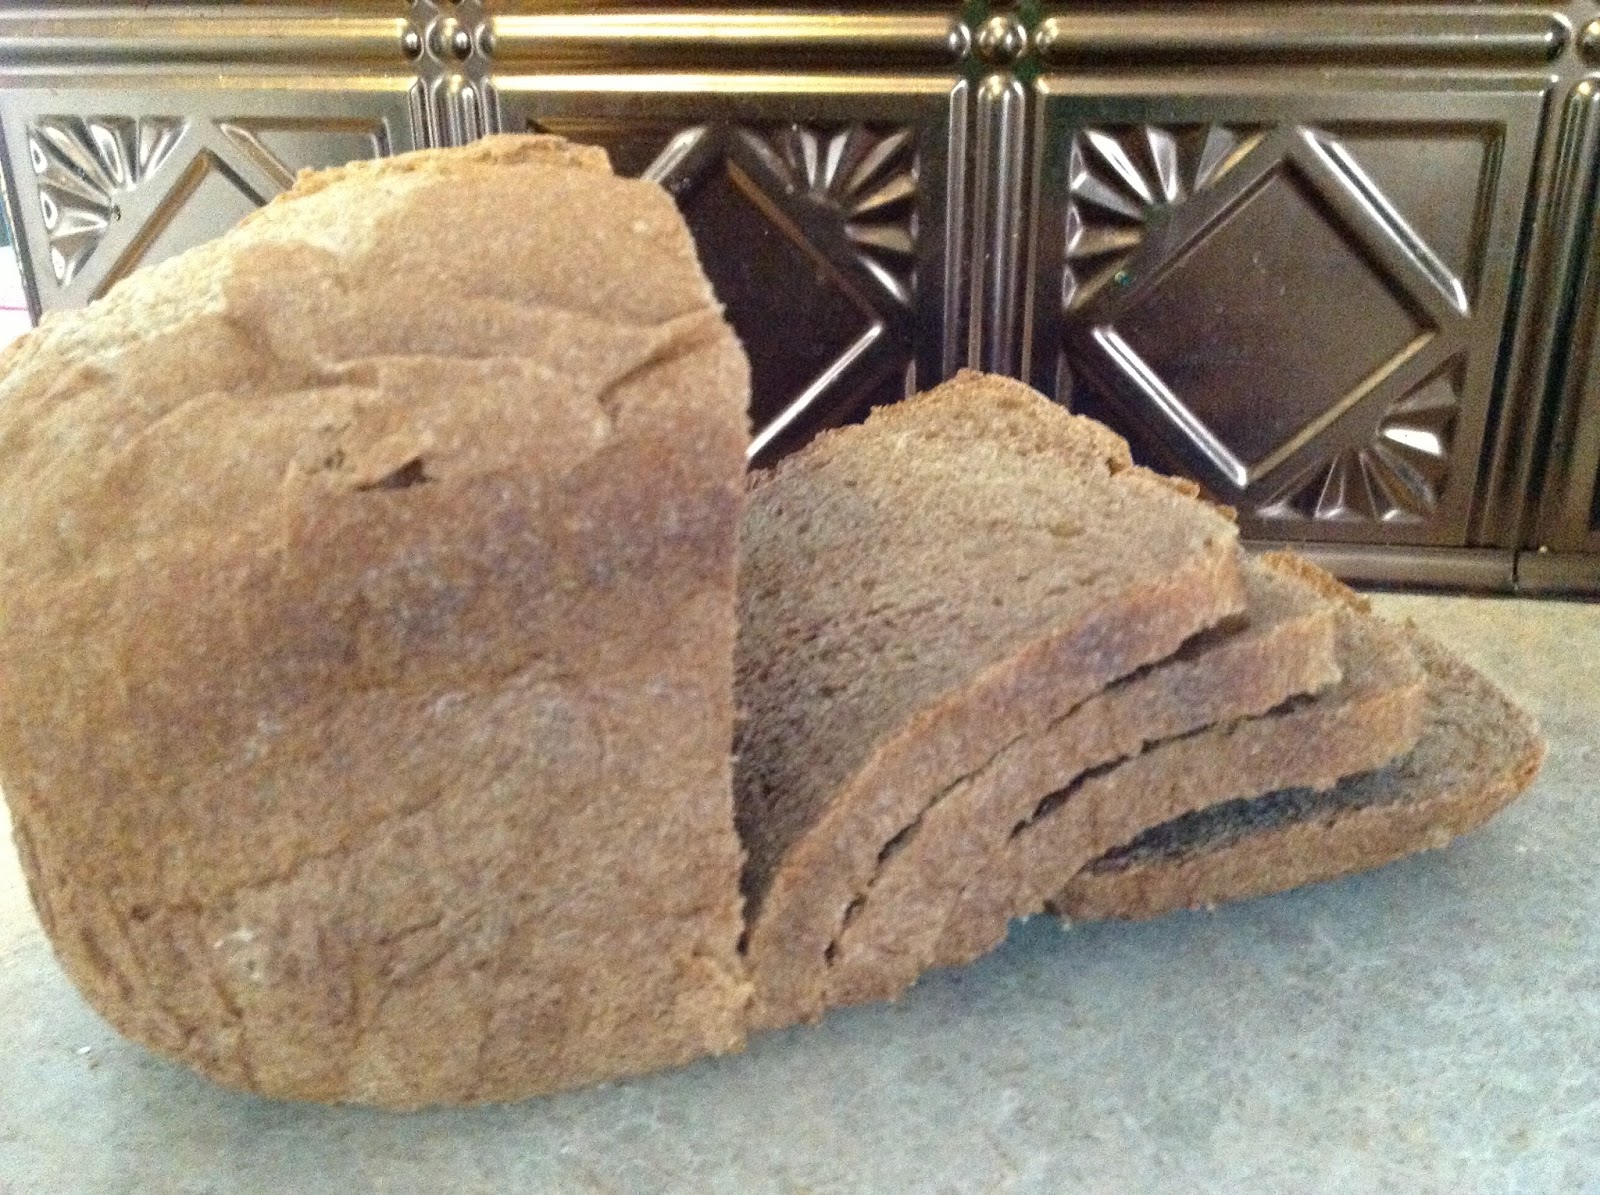
Soaked Whole Wheat Bread

So. I had a whole post on why soaking your wheat is a good thing. The science behind it, why it can help your body, and how it makes a great loaf of bread! But then as I punched the backspace key, I thought you know what? If you're looking for soaked whole wheat bread recipes and you found mine, you already know the benefits of soaking your wheat. You already know that until the last century every society soaked their grains beans and nuts. You are already willing to soak your wheat, but simply need a recipe! But if you do want to know more about soaking your wheat/beans/nuts, Da'nelle over at Weed Em and Reap has a great blog that tells us all about soaking our grains. She also has a great tutorial on making whole wheat bread, but it's by hand and I needed something for the bread machine. We go through 10 loaves or so a week not to mention other wheat things I make, and I like to use the bread machine for efficiency.

So, I have one for you. And let me tell you. I was super surprised. I started making whole wheat bread a couple of years ago. I got a bread machine and every day or so, I would make 1-2 loaves of bread. Only on rare occasions did we buy store bought bread. I make all sorts of things in there. Hamburger buns, cinnamon roll dough, italian/french bread doughs, and regular sandwich bread. Needless to say we eat some serious wheat in this house. But I noticed that when I ate wheat, I felt like crap. It felt heavy in my stomach and caused some mild nausea. So I decided instead of jumping on the low-carb, no carb gluten free bandwagon, I was going to keep wheat because humans have been eating it since about 6000 BC when we learned we could use rocks to grind it up. So. Onto the bread.

Now, Here's the thing. All you have to do is mix your wet ingredients and your wheat. Here's my recipe. This makes a 1.5lb loaf in the bread machine.

3 and 1/3 cups of whole wheat bread flour
1 Tbsp and 1tsp of Coconut oil 
2 Tbsp of apple cider vinegar
1 and 1/3 cup of water
3 Tbsp of honey
1 tsp of salt
2 Tbsp of Arrowroot powder
2 and 1/4 tsp of yeast 

Now real quick like, I know you're like what the heck is arrowroot powder? (or maybe you know! I didn't). It's like Cornstarch but with cornstarch its of course, made from corn, and 90% of the corn in the US today is GMO and we try to stay away from all GMO's around here. So arrowroot it is.


So. You just mix up your wheat, oil, honey and vinegar and mix it. Now I have 3 and 1/3 cups of wheat. 3 cups is your starting place. On average I use 3 and 1/3 cups. But sometimes I use a little less, and sometimes a little more. It will depend on the humidity level of your kitchen how much wheat you need that day. What I do, is turn on the machine and then add the 3 cups of wheat and let it mix a bit. Then I add a little at a time until the dough starts to pull away from the sides of the machine but it still a bit sticky.


I use the bread machine to mix it in. It doesn't have a mix cycle per se, but I just toss it in there and turn it on the first cycle and let it mix. Then I just turn it off. Iffn' you want to you could just leave the dough in there for the required 8 hours (or up to 48 hours). When I make two loaves I sit them out on the counter uncovered. Don't worry, it's completely safe. :)


Then, after it's sat for the amount of time, you simply add in the salt, the arrowroot powder and the yeast and turn your machine on "white bread" setting. And honestly, it's as simple as that! I thought soaking my bread would take me longer. I thought it would be extra work. It's really not. And let me tell you. Before, I switched us over to white wheat because even though I *love* the taste and texture of whole wheat bread and that dark caramel color it has, it wasn't rising right in my machine. Now I know why. The loaves rise beautifully now. They're also super yummy. Also also, they don't give my belly any issues now either! So what are you waiting for!!! Get to baking!


Friday, July 26, 2013

Beef and Veggie Hand Pies


Yummy meat hand pies, it's what's for dinner! 

OMG. Hand pies? I realize, it's sounds kinda gross. You could call it a...hot pocket if you wanted to I suppose, but I think that name has been taken and then tradmarked, so I'll stick with hand pies for now. My first experience with them, was quite a while ago. I ate what was called an "irish hand pie". It is the cousin to the original version of what Nebraskans out here call a "Runza" or what is also called bierock. 

So. Basically have you have this pocket (closed of course) of meat and veggies that is baked and then consumed in all it's yumminess. 
Here's our version :) 

Ingredients for the dough.

What you'll need for the dough: 
1 cup of whole wheat flour
1.5 cup of whole white wheat flour
1 cup of warm water
1 tsp of salt
1 tbsp of sugar
1 tbsp of coconut oil
2.25 tsp yeast.

What you'll need for the filling: 
1lb of pastured grass fed beef
2 small onions
1 tbsp (about 2 cloves) of minced garlic
8 large mushrooms chopped
1 medium yellow squash
1 cup of mozzarella cheese

(If you're soaking your whole wheat flours like we're doing, you'll want to soak the water and flour overnight on your counter and then continue with the recipe.). 

Now, I toss all this in my bread machine in this order: water, salt, sugar, oil flour and then yeast. I throw that bad boy on "dough cycle" and get to cooking the meat and veggies.


Sauteed Veggies

We added in squash because we had a bunch,
but you could add in just about anything you could think of! 

Next, take your pan and throw a tbsp of coconut oil it and saute your veggies. I used onions, mushrooms, chopped garlic, and squash which aside from the mushrooms, all came from the garden. I got those nice and yummy and then added in the meat. I gave it a good stir and browned it up while mixing the flavors thoroughly. 


By this time, your dough should be done. It needs to rise, so if it' hasn't yet, let it rise and then punch it down. Cut it into 8 equal parts and then roll each one out into a circle. Add in some of the filling, and top with cheese. Now you could use ricotta cheese mixed with the meat too, we didn't have that, so I used what I had on hand.

Make sure to just keep cutting in halves
until you have the number of pieces you want.
You could always do more or less depending on your needs. 

Make sure to crimp all edges for a nice closed pie
 so it doesn't come open when you bake it. 
Add in any fillings you like, we added
in cheese!


Take a fork, fold over the pocket and crimp the edges closed with the tines of the fork. Sprinkle some cornmeal on a pan and lay your hand pies down on top. The cornmeal keeps the dough from sticking. 
Bake at 375º for about 25 min and then serve up with pizza sauce, or any other sauce you can think of! 

Monday, July 15, 2013

Garden July 15th 2013 UPDATE!

I'm simply amazed every time I walk out my backdoor into our garden and see the vegetation. I'm amazed every time a bloom falls off and there's a tomato behind it two days later. I'm doubly amazed when I check on the squash at night and come back in the morning to find it doubled in size. Your garden is the backbone of a great urban homestead and it really makes me so proud to see how well it can feed our family of six. So
lets get to the garden porn shall we?


Finally got the potatoes topped off. This was the second time we'd hilled them up. We're doing it about once every three weeks. You can see there's no lack of vegetation! 


These were the first set of potatoes we'd planted. As you can see, they're beginning to die off already. Won't be long now! 


Finally have blooms on the pepper plants for our salsa peppers. 


Homegrown stevia. I throw a few leaves in the tea cup when I'm brewing tea and it's makes for a great natural sweetener. Hubby almost killed them when I was visiting family with the kids. I came back and they were bone dry and brown. I cut them down to an inch and have given them plenty of water and they've come back just as strong. 


Italian parsley. We use a LOT of parsley in our house. So I planted a lot. I'm thinking I might need double this amount next year though. Somehow, if you look closely, you can see there are a few green onions that ended up in the left side of the container, apparently I spilled some seeds :)


Black Seeded Simpson lettuce. This is our first year trying this variety and I'm in love. We had three days this week with 100º temps and only three plants bolted (you can see I cut them down, on the right hand side at the bottom). This has to be the most heat resistant variety I've ever seen. The taste is lovely, very crisp and crunchy! This will continue to be a staple in our garden year after year. 


California Bell peppers. It never ceases to amaze me how these plants grow such big fruit. 


Early girl tomatoes. 


Carrots are finally growing like weeds! Which you can see we have plenty of ;) We thinned them two weeks ago and ever since, they've taken off. We have another set of carrots going in along with peas for part of our fall crops. 


Onions in the back. I haven't weeded since the tops fell over, and as you can see, the weeds grow super fast! I need to remember that because just a few days can mean the difference between "under control" and "crazy out of control!". The onions have done so well this year, it was so great watching them go from tiny sets to onions the size of baseballs. We will be pulling them and curing them, then storing them braided and hanging to dry in the root cellar (post will include all the details!). 


Roman Candle Tomatoes. I had to have one tomato plant that was "cool" and chose this one. Check out these super cool tomatoes! I love it.  


 Onions up close. Aren't they just gorgeous? 


Cucumbers have really taken off. Notice all the blooms. Next year to save space I will be trellising them. They're taking up valuable real estate.  


We planted the straight eight variety for salads and eating. You can see one lone cuke back 
there if you look hard. 


Okra! We have two plants this year. We only use Okra for slicing and freezing or canning with our veggie soup and chicken soup mix as none of us are big okra fans. I do love how they grow upside down though.  


Boston Pickling cukes. Can't wait to get a whole crop in so we can make some pickles. My kids will eat a jar of pickles in a sitting if you let them. 


This. This is my pride and joy. I have my blood sweat and tears in this strawberry patch. We started out with 37 plants. We did a double hill system and spaced them a foot apart in all directions. Every single plant now has three runners, and you can see the rows certainly are being filled in. We have been pinching off all the blooms this year so that the root system will take as next year this means we'll likely have a bumper crop :) 


Watermelon patch. Hard to see as it's gotten so large it's encroaching on the grass next to the garden, but we have about 8-10 main vines that are about 8 feet long now. 


Baby watermelon! We planted Sangria and Sugar babies, not sure which
 one this is yet, but I for one, can't wait to eat it. 


Squash and potatoes in the back. We had to tear out one squash plant because it became infested with squash vine borers, but we were able to save the other two plants. We have one zucchini and one yellow straight neck. We also have three smaller plants in the back, that had been in containers which had stunted their growth a bit. So. Lesson learned. Squash in the ground, not in containers. 


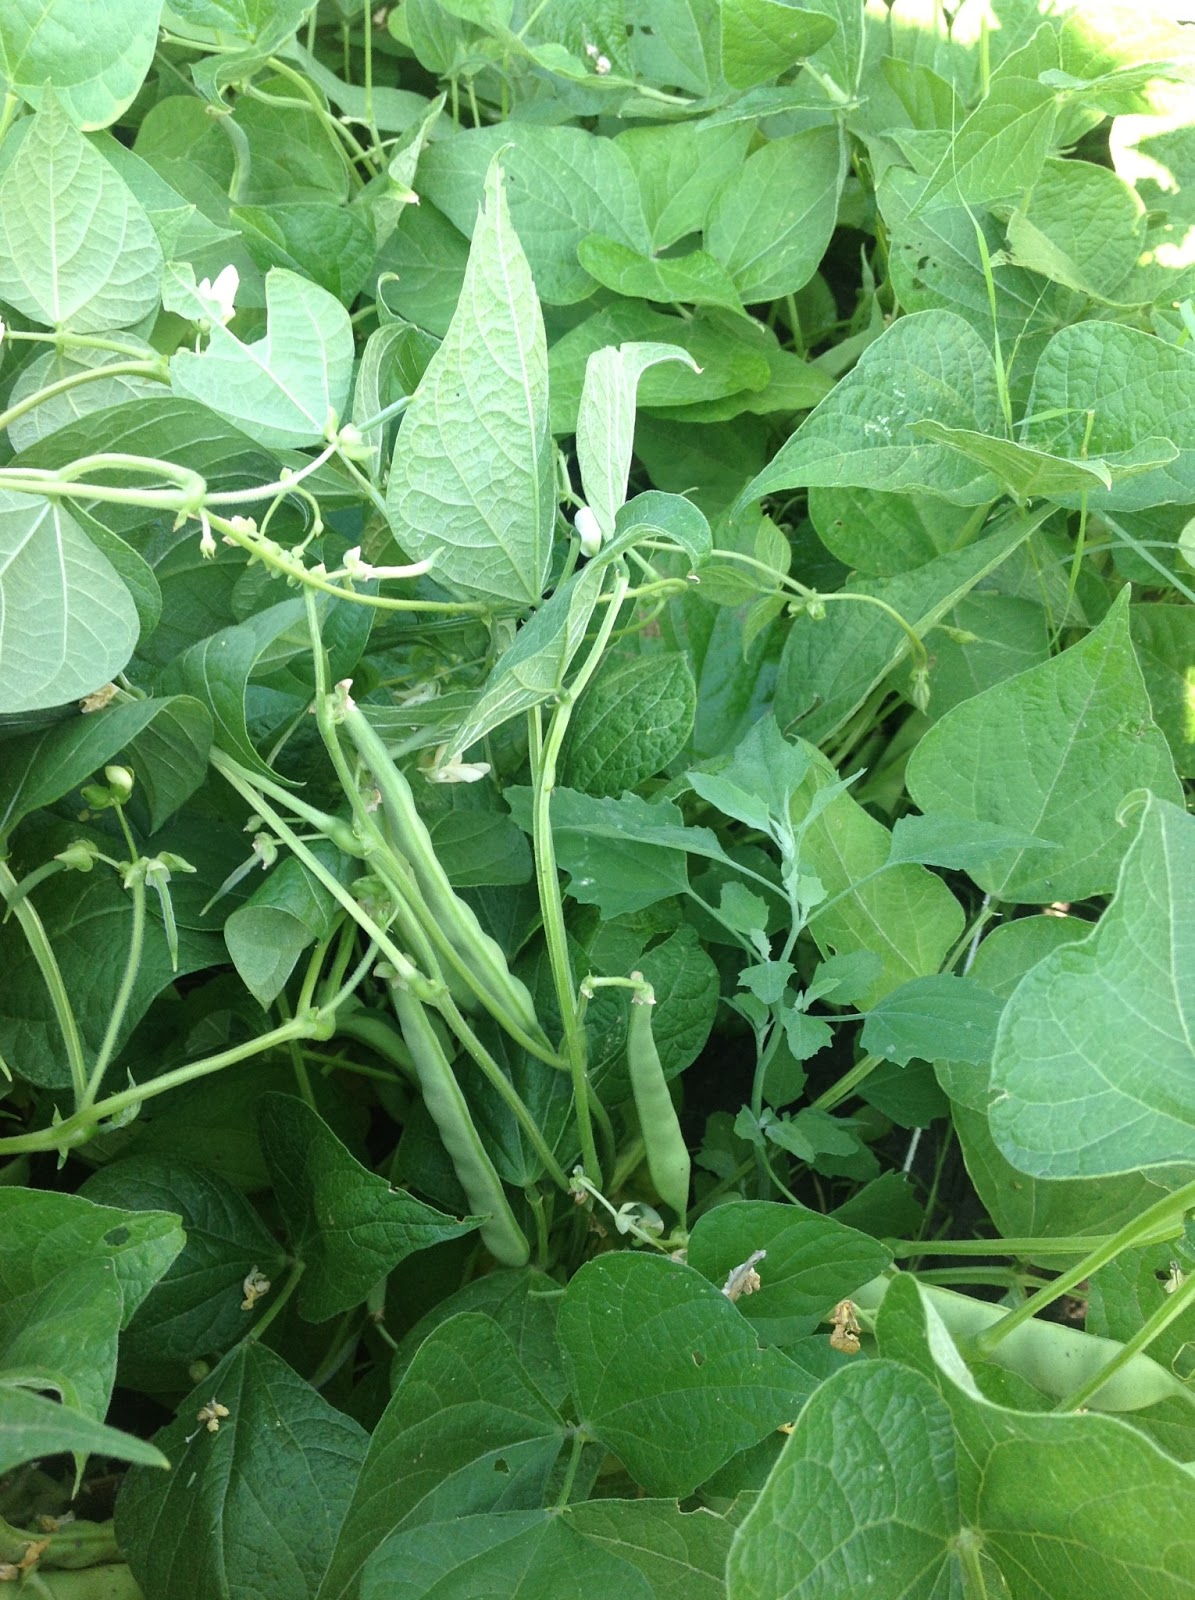
Beans! Can you believe all these beans! We've harvested about 5lbs of green beans thusly and the pinto, cranberry, montezuma red and great whites already have plenty of bean pods. The Cherokee Blacks and Lima's went in later, so I expect we'll have some of those soon. We have plans of picking the beans, drying them out, shelling them and then storing them. We might can some of the fresh beans as well. 


We extended the garden a bit to accommodate the watermelon vines as they were trying to get through the fence. So, I decided to dig it up. We're going to put our fall peas and carrots over here. I have 250 carrots going in the ground and around 200 pea plants if they'll all fit. 


Beans beans they're good for your heart! 


Pinto beans. 


Aren't squash flowers beautiful? 


Potatoes. This was the last crop of potatoes that went in. They have been hilled twice and still have blooms. I imagine we will be harvesting them closer to fall. 


So that's our garden news for this week. How is your garden doing? 


Friday, June 28, 2013

The Miraculous, Solar Powered, Laundry Drying Apparatus!

When I first married my husband, we lived in an apartment. When we moved overseas, still, apartment living. While I have always used a clothes horse for my clothing as an adult, we didn't have a clothes line until we bought this house and installed one. I grew up however, with all of our clothes being dried on a line, and remember the smell of freshly dried sheets. You can see our umbrella line to the left there surrounded by our container potatoes. I am able to dry all of our clothing for a family of six on this. Cost me $30 for the stand and $5 for some concrete mix to sink it into.

As I've gotten older, our country has moved from things like line drying, all in the name of convenience. I mean, you can even get your liquor through a drive thru. Really? So things like line drying are becoming obsolete cause apparently ain't nobody got time for dat. Really though let me tell you what's so awesome about drying your clothing without a dryer. I do realize that not everyone has their own property, but you can even dry on a balcony or patio if you buy a $20 clothing horse or two. We use them in the winter to dry things that I don't want to put in the dryer.

The bennies:

1) Your clothes will last longer. seriously. This isn't just a ploy. They really will. Every time I dry something, I have to clean out the lint trap. Know why? That damned dryer is slowly breaking down my clothes. When your clothing doesn't break down like that, producing lint, it not only lasts longer (which saves you money) but will look better for longer too.

2) Your clothes don't shrink. Cause don't tell me you haven't smalled up your clothes in the dryer. We've all done it. You have that great shirt. Perfect color, perfect fit, you put it in the dryer and suddenly the tunic that hit you perfectly at your hips is now making you look like you're trying to bring the 80's cropped shirts back. And somehow that mother got four inches wider to boot. It defies science for real.

3) No wrinkles. I love when I make my bed and there's no wrinkles. And I'm telling you I am NOT about to iron my damned sheets. I'm just not that OCD. But I love it when I crawl into bed, the sheets are nice and crisp, they have that great sun dried smell and there are NO wrinkles. I sleep so much better! The rest of your clothes won't' need ironing either. And I know what you're thinking. "Yeah, but my towels are all crunchy, and scratchy and who wants to be lacerated by their laundry after a shower?" Well throw them in the dryer with a wet washcloth for 10 minutes and they'll be fine. I promise. :) Still cheaper than using your dryer all the time.

4) Your socks won't stick to the back of your pants making you look like a fool. Ok, so maybe I've not had that happen in real life, at least, I've caught the sock before putting on the pants, but I have had my skirts stick with static to my pantyhose. Thankfully these days, I'm lucky if I put on shoes and socks and not just my hippy sandals, but for real, for those of you that still wear real people clothing and not stay at home mom clothing, this will work much better than smelly ass hairspray. Cause only the cheap stuff works on static cling and it stinks.

5). Free bleach. Dood, your whites will never be whiter. I can bleach our cloth nappies in just one day in the sun. Socks? White as can be. Some things like the washcloths my hubby uses after spending 12 hours climbing around and in those big ass locomotives he fixes at work, yeah, those might take a few times in the sun, but you can even get those white again (or at least a dull gray).

6). Its free. And we all love free right? I mean, if there's a free sample at the store, it doesn't matter if it's something you won't use, people still take them. This is a gift that just keeps on giving. According to science, most of us use about 10% of the electric we use just on our clothes dryer.

7) You're loving on Mother Nature more, and really we need more love on this planet don't we? So cuddle right up to Mother Nature and line dry your clothing.