Thursday, August 8, 2013

Soaked Whole Wheat Tortillas, even if they are crooked!


So they're not perfectly round like the store bought ones. That's a good thing right? I mean, that just shows you they're authentic! This recipe is so easy, I'm betting my nine year old could work it. Really. Ok wait. My husband could work it. And that's saying something because he can't cook. At all. 

I made tortillas once and they sucked. They were gummy, they tasted like cardboard and they were stiff and not at all like you think a tortilla should be. Who knows what I did wrong, I haven't the slightest, but whatever it was, it was enough to turn me off of them. Or so I thought.

In our quest to eat as naturally as possible, I came across soaking your grains, beans and nuts for optimal digestion and health. I won't launch into a tirade about why you should soak your grains, but here's how I look at it. Number one, humans have been doing it (until recently that is) for thousands of years. There are actually a lot of other (healthier) cultures that still do. Secondly, it doesn't take any more time, so why not? I mean, it can't hurt you to soak your grains, and I've got nothing to lose, not even time, so why wouldn't I do something that takes absolutely no energy, time or effort on my part? Granted, it's not as easy as pulling something off a shelf and shoving it into a cart, but healthy eating is never that easy. That's how Americans have become the most obese people on the planet, and I want no part of that. Thirdly, yes thirdly, I've actually seen improvement since I began soaking our grains. I'm losing weight, and don't crave carbs the way I used to. And I don't feel gross like there's a brick of crap in my belly when I eat them now either.

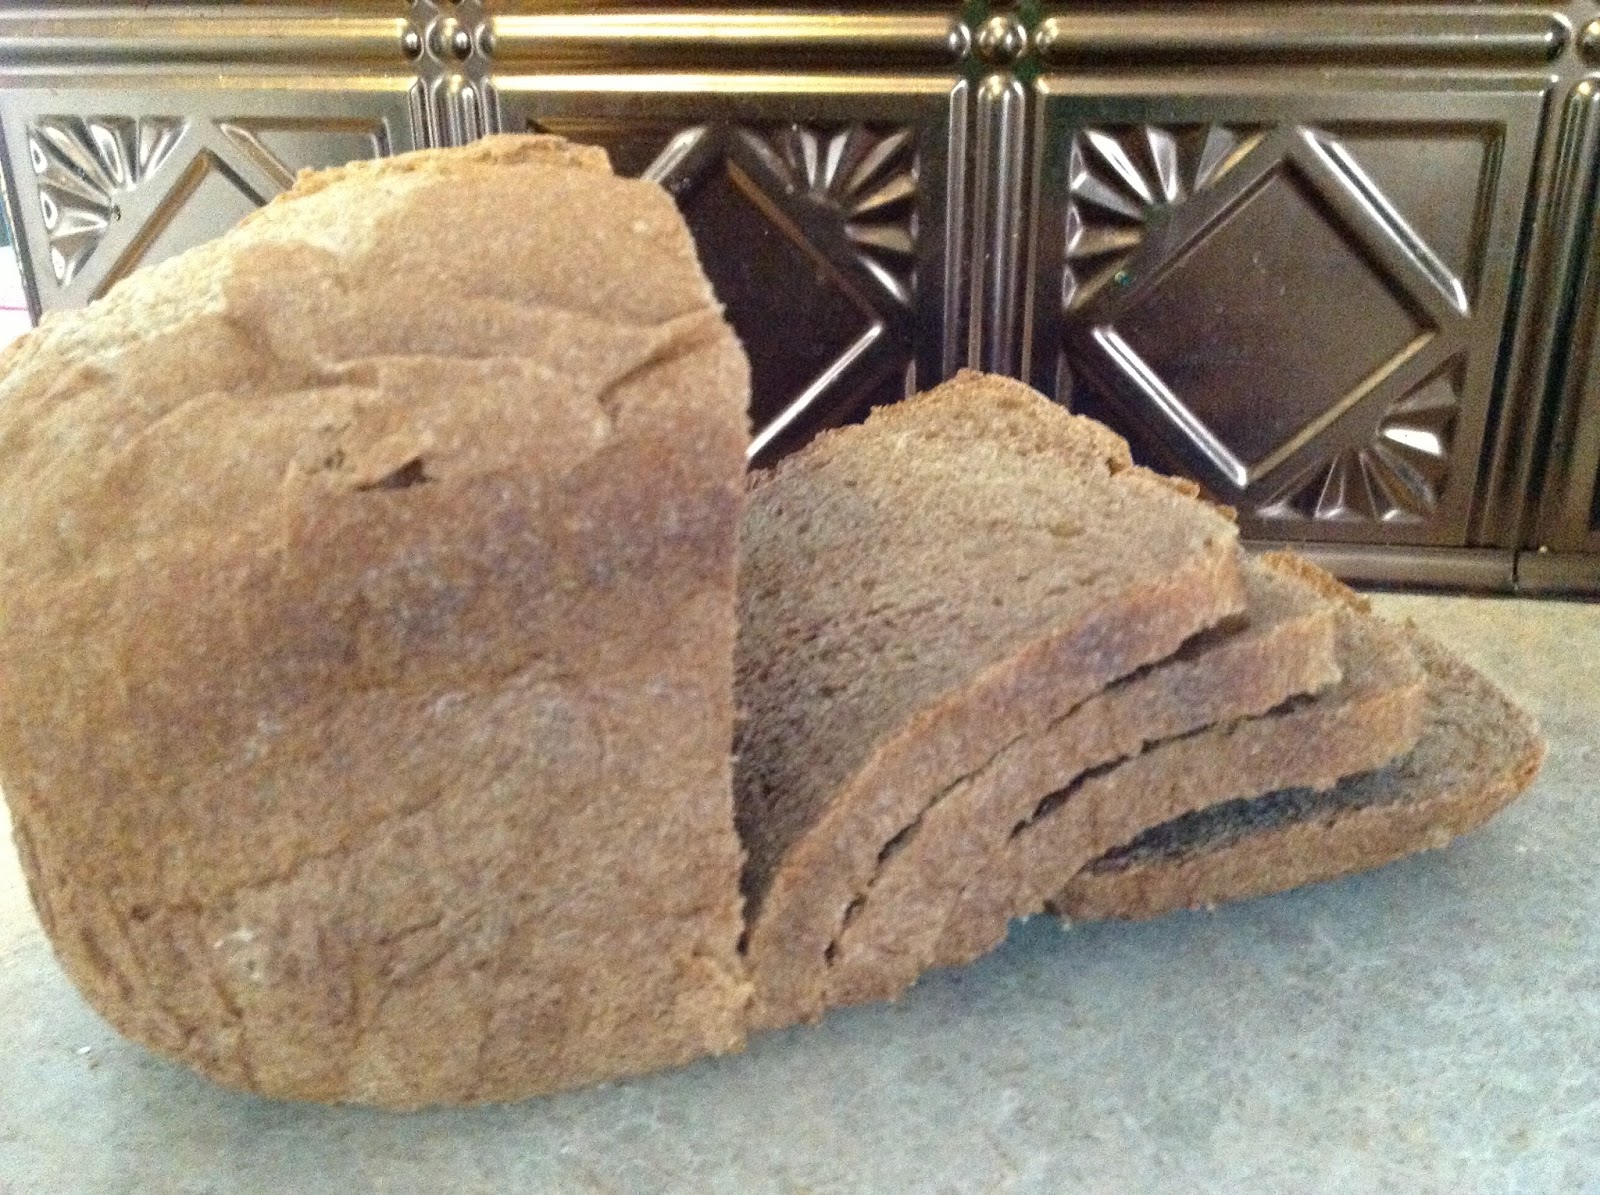
There's also nothing better than a beautiful loaf of whole wheat bread to entice you too!

So here's what you do!

Soaked Whole Wheat Tortillas

Makes 8 awesome rounds!

Ingredients:
2 cups of whole wheat flour
1/4 cup of coconut oil
3/4 cup of water
1 Tbsp of apple cider vinegar
1 tsp of salt
arrowroot powder or cornstarch for rolling out


Mix everything but the salt and arrowroot. Mix it well, in a bowl. Throw a plate or something over the bowl to keep it from drying out and let it sit on your counter for at least 8 hours. I made mine at about 8 am this morning and let it sit until about 5. You could always leave it overnight and then roll it out the next morning.


2. Cut it into 8 equal pieces. Roll out each piece until it seems like it's too thin. I promise you, it's not. :)


3. Throw that bad boy in a heated skillet on about medium heat, and let it cook maybe 45 seconds on each side. You'll want to watch for it to bubble up in places, and when it bubbles up, you know it's time to turn. Then, turn and cook on the other side. Take a look at the video above to get an idea of when to turn.


4. Enjoy!

You can even make them and freeze them for future use if you are like me, have six people and eat them once or twice a week!


Wednesday, August 7, 2013

How does your Garden Grow? Aug 7, 2013

 I can't believe it's already August! Where has the summer gone? Our garden is producing and starting to look really good! How are yours looking?


Tomatoes are finally turning! Check all those spots of red in there!
Won't be long now and our canning will go from the occasional
batch to serious biznass!

Strawberries! They need to be weeded in the middle there and you
can see the runners keep running! Every week I go through and pinch
off the extra runners as we've got enough this season. I'm also wondering if the
plants are June bearing unlike I was told at the nursery, we've not had a bloom since late June

Pea plants for our fall crop, they're getting big already!

Can you believe this melon patch? I have tried to keep it
contained, but to no avail!

Potatoes are still flowering and I rummaged around, they're growing just fine! 

I might be really proud of these strawberry plants that I have to show two pics!

Our lima beans are...beaning! We have a ton of these pods and it won't be long
till we can pick them! 

Tell me these aren't just gorgeous! These are the black cherokee beans we
planted, we like black beans in this house. I am just amazed how beautiful they are. 

This is what iron deficiency looks like in strawberry plants. The yellowing of the
leaves the green veins and the brown on the edges. We've added bone meal and
you can see the ones next to it have perked up a bit already. I estimate within a week
they'll all be back to being green. 

Side yard garden. All that green is just so pretty!

Carrots are finally getting it! Bout time too!

Look how tall these carrot tops are. We thinned a few weeks ago and might
need to thin a few more, but oh well, yummy carrots!

Love these maters. All that red coming in. 

Cherry tomatoes have been producing for a couple of weeks now.
Getting enough to eat in my salad every other day. And there's nothing
better than a homegrown tomato in your salad. 

Lookit how the watermelon vines have just creeped out of the fencing much to my dismay!
I tried to keep them contained, but I would wind them up only to come out the next morning and find
them through the fence and blooming, and I didn't want to hurt the blooms! 

These are bigger than they seem in the picture. The largest one, on the left is probably about 10lbs by now, and they're
growing larger every day. I can't wait to eat them! The kids are super excited too, wanting to check progress every day. 

A hidden watermelon I found this morning. I don't know how I missed it. It's about 10 inches long. 

What's left of our bean patch. We've got Montezuma Reds, Black Cherokee, Green Snap and Lima Beans. 

I don't remember which variety I planted, but these are getting about a foot long before they're ready.
They're also cross pollinating with my Boston pickling cukes and are making for some very misshapen
cucumber "balls". I need to not plant so close next time! 

I completely forgot until two days ago when it began to turn, that I'd planted red peppers.
Isn't it gorgeous!

These are the hot peppers I planted in the Smart Grow containers for salsa. I am really pleased with these containers. Six plants fit in this container and they're thriving!


Potatoes. Won't be long now, it seems. Some of the foliage is starting to die off already. More Smart Pot Containers. 

Finally! A bloom on the Eggplant! We haven't had any eggplant yet this season. 


Tuesday, August 6, 2013

Soaked Whole Wheat Bread

So. I had a whole post on why soaking your wheat is a good thing. The science behind it, why it can help your body, and how it makes a great loaf of bread! But then as I punched the backspace key, I thought you know what? If you're looking for soaked whole wheat bread recipes and you found mine, you already know the benefits of soaking your wheat. You already know that until the last century every society soaked their grains beans and nuts. You are already willing to soak your wheat, but simply need a recipe! But if you do want to know more about soaking your wheat/beans/nuts, Da'nelle over at Weed Em and Reap has a great blog that tells us all about soaking our grains. She also has a great tutorial on making whole wheat bread, but it's by hand and I needed something for the bread machine. We go through 10 loaves or so a week not to mention other wheat things I make, and I like to use the bread machine for efficiency.

So, I have one for you. And let me tell you. I was super surprised. I started making whole wheat bread a couple of years ago. I got a bread machine and every day or so, I would make 1-2 loaves of bread. Only on rare occasions did we buy store bought bread. I make all sorts of things in there. Hamburger buns, cinnamon roll dough, italian/french bread doughs, and regular sandwich bread. Needless to say we eat some serious wheat in this house. But I noticed that when I ate wheat, I felt like crap. It felt heavy in my stomach and caused some mild nausea. So I decided instead of jumping on the low-carb, no carb gluten free bandwagon, I was going to keep wheat because humans have been eating it since about 6000 BC when we learned we could use rocks to grind it up. So. Onto the bread.

Now, Here's the thing. All you have to do is mix your wet ingredients and your wheat. Here's my recipe. This makes a 1.5lb loaf in the bread machine.

3 and 1/3 cups of whole wheat bread flour
1 Tbsp and 1tsp of Coconut oil 
2 Tbsp of apple cider vinegar
1 and 1/3 cup of water
3 Tbsp of honey
1 tsp of salt
2 Tbsp of Arrowroot powder
2 and 1/4 tsp of yeast 

Now real quick like, I know you're like what the heck is arrowroot powder? (or maybe you know! I didn't). It's like Cornstarch but with cornstarch its of course, made from corn, and 90% of the corn in the US today is GMO and we try to stay away from all GMO's around here. So arrowroot it is.


So. You just mix up your wheat, oil, honey and vinegar and mix it. Now I have 3 and 1/3 cups of wheat. 3 cups is your starting place. On average I use 3 and 1/3 cups. But sometimes I use a little less, and sometimes a little more. It will depend on the humidity level of your kitchen how much wheat you need that day. What I do, is turn on the machine and then add the 3 cups of wheat and let it mix a bit. Then I add a little at a time until the dough starts to pull away from the sides of the machine but it still a bit sticky.


I use the bread machine to mix it in. It doesn't have a mix cycle per se, but I just toss it in there and turn it on the first cycle and let it mix. Then I just turn it off. Iffn' you want to you could just leave the dough in there for the required 8 hours (or up to 48 hours). When I make two loaves I sit them out on the counter uncovered. Don't worry, it's completely safe. :)


Then, after it's sat for the amount of time, you simply add in the salt, the arrowroot powder and the yeast and turn your machine on "white bread" setting. And honestly, it's as simple as that! I thought soaking my bread would take me longer. I thought it would be extra work. It's really not. And let me tell you. Before, I switched us over to white wheat because even though I *love* the taste and texture of whole wheat bread and that dark caramel color it has, it wasn't rising right in my machine. Now I know why. The loaves rise beautifully now. They're also super yummy. Also also, they don't give my belly any issues now either! So what are you waiting for!!! Get to baking!